How to fix the zenith of your 360° panorama’s
The problem
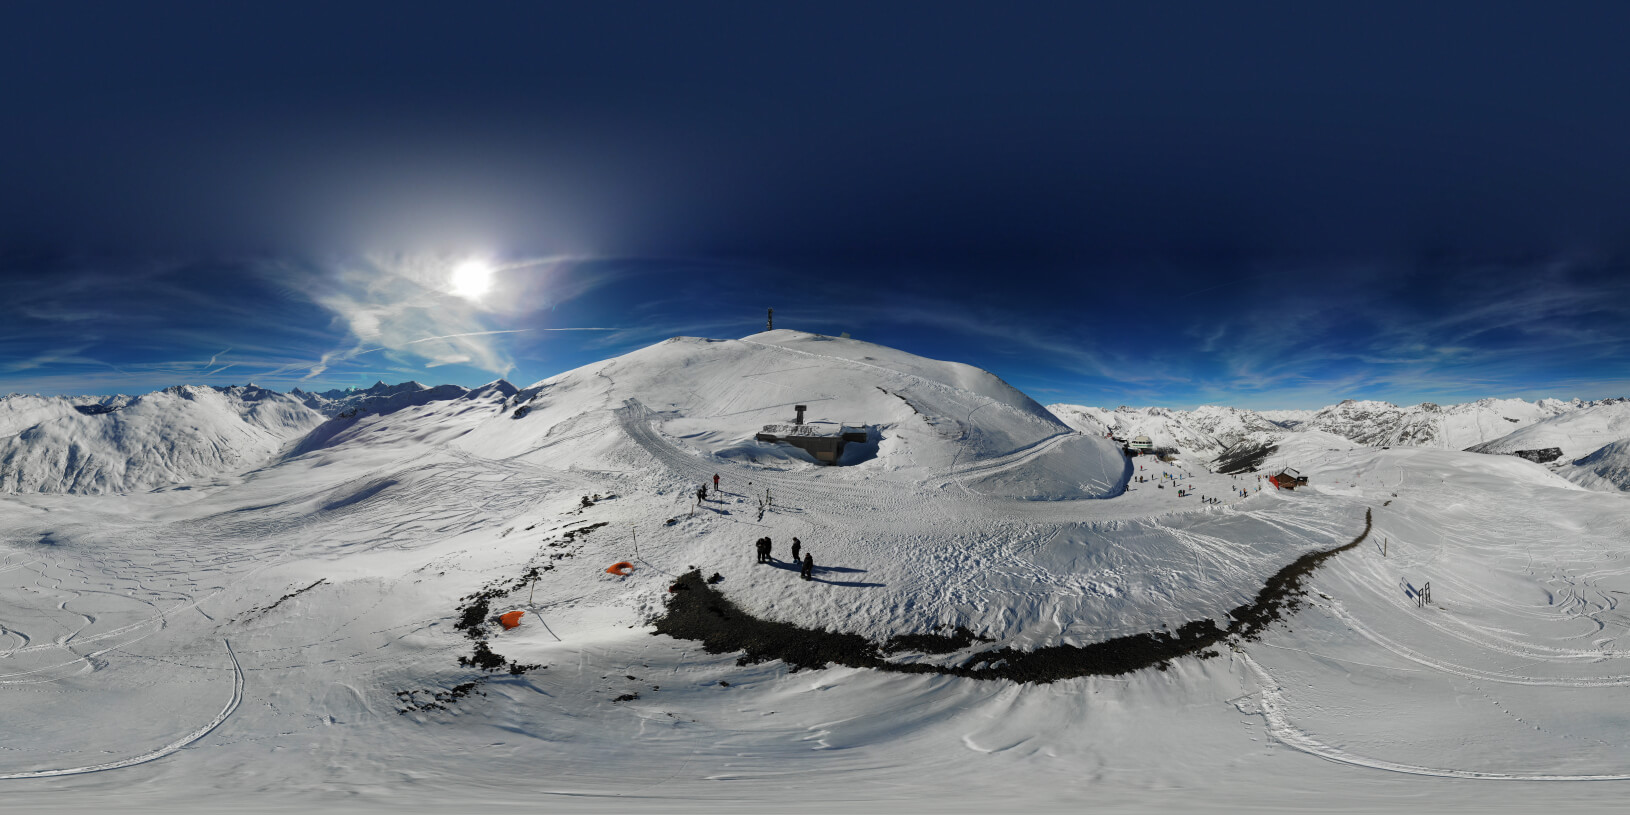
If you have a drone and you’re anything like me, you might like to take it up in the sky for taking 360degree panoramic images. Most drones – like my DJI Mavic air – can do that automatically with the press of a button. And the results look nice at first sight.

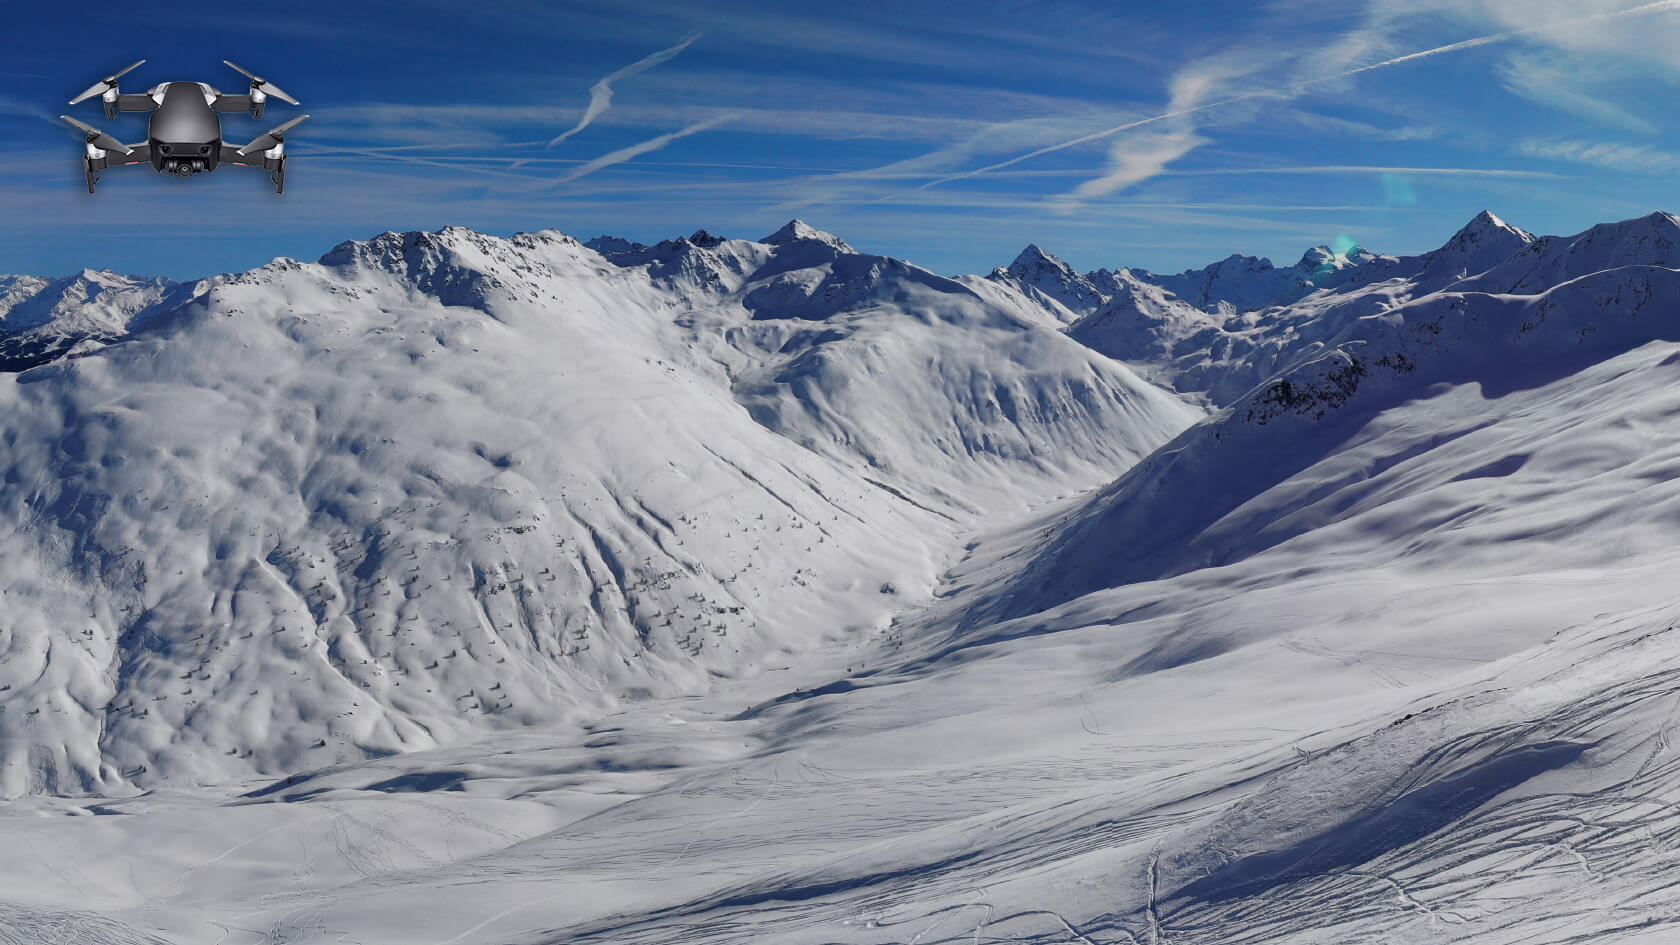
But, if you’ve taken a closer look at the resulting images, you might have noticed some strange behaviour. First and most noticable in the image above is that the sky area – the zenith – looks really bad. Most drones cannot look up to take images of the sky above it. Therefor DJI just blurs the zenith hole, based on the color of the rest of the sky. But that blurred zenith mostly looks really bad, even when your panorama was taken on a day with bright blue sky.
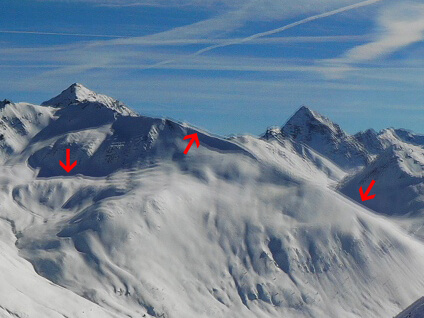
 Secondly, as with any panorama shot, your drone takes multiple images in all directions and stitches them together to create a full panorama shot. But the algorithms that does the stitching on a DJI drone are quiet poor and will produce many overlap mistakes when you take a closer look. For example this mountain panorama shot clearly shows the mountain overlapping twice when you zoom in a little. And when you start looking for those mistakes, you’ll be surprised how many you’ll find.
The last issue with automated 360° panorama’s is not related on how the image looks, but on how you can view the result. At time of writing DJI still fails to correctly tag the image as a 360° panorama when generating it. It works in their own application, but it fails to be recognised as a 360° panorama when you upload it to a service like Google Photo’s, Google streetview or even to facebook. As this is just a matter of setting the correct exif data, I’m wondering what is DJI taking so long to fix this issue. Because what’s the point of taking 360° panorama’s if you cannot view them the way they were intended?
The solution
We”ll be taking the following steps to improve the results of our 360° panorama’s.
You can follow along or jump to the steps you need.
- Set up your DJI drone to save the unstitched images of your 360° panorama
- Stitch the panorama ourselves using PtGui for much better stitching results
- Exporting the Zenith hole image from PtGui the correct way.
- Fixing the zenith hole in photoshop using content aware fill
- Adding the fixed zenith hole back to the panorama using PtGui again
- Exporting the panorama in full quality and again for Google photo’s.
1. Saving the unstitched images on your drone
The most important aspect about stepping up your 360° photography with a drone is making the panorama’s yourself with professional software instead of the autogenerated images from the drone itself. And for that we need all the partial pictures the drone takes to generate it’s panorama image. Luckily DJI has an option for that which you can enable in the DJI go application when you’re connected to your aircraft. Just start your drone and the remote, open the DJI GO application and wait for it to connect and display the camera view. After that go to the camera settings, tap the cogwheel icon and enable “Save Unstitched Pano Photo’s”.
[ image here ]
Congratulations, Step one is done.
